Physical Address
304 North Cardinal St.
Dorchester Center, MA 02124
Physical Address
304 North Cardinal St.
Dorchester Center, MA 02124
If you’ve been exploring natural ways to improve your skin, reduce inflammation, or accelerate muscle recovery, you’ve likely come across photobiomodulation therapy — more commonly known as red light therapy. Once exclusive to clinical settings and high-end spas, this science-backed treatment is now widely accessible to everyday consumers. More people than ever are discovering how red light therapy at home can deliver real, measurable results without the costly clinic visits, and how investing in quality red light therapy devices for home use is rapidly becoming a mainstream wellness decision. According to recent market research, the global red light therapy market is projected to exceed $1.2 billion by 2026, driven largely by consumer demand for at-home solutions. Whether you’re a seasoned biohacker or a complete beginner, this guide will walk you through everything you need to know to get started safely and effectively.
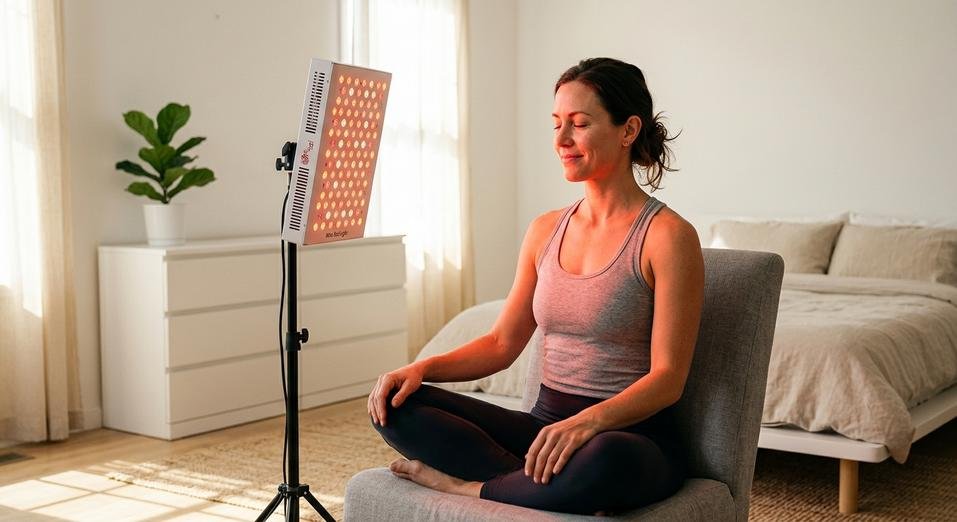
Getting the most out of your sessions requires more than simply switching on a device and sitting in front of it. Following a structured approach ensures both safety and effectiveness. Here’s how to build a successful routine using red light therapy at home alongside properly selected red light therapy devices for home use.
Not all panels are created equal. Look for devices that emit wavelengths between 630–670nm (red light) and 810–850nm (near-infrared light). These specific wavelengths have the strongest scientific backing for skin rejuvenation, collagen stimulation, and cellular repair. FDA-cleared devices are always a safer choice.
Always start with clean, dry skin. Remove any makeup, sunscreen, or heavy moisturizers before a session. These products can create a barrier that reduces light absorption and diminishes the therapy’s effectiveness. Avoid applying photosensitizing products immediately before treatment.
Position yourself approximately 6 to 12 inches from the device. Beginners should start with just 5 to 10 minutes per session to allow the body to acclimate. Over the course of two to four weeks, you can gradually increase session time up to 20 minutes. Consistency is more important than session length — aim for four to five sessions per week.
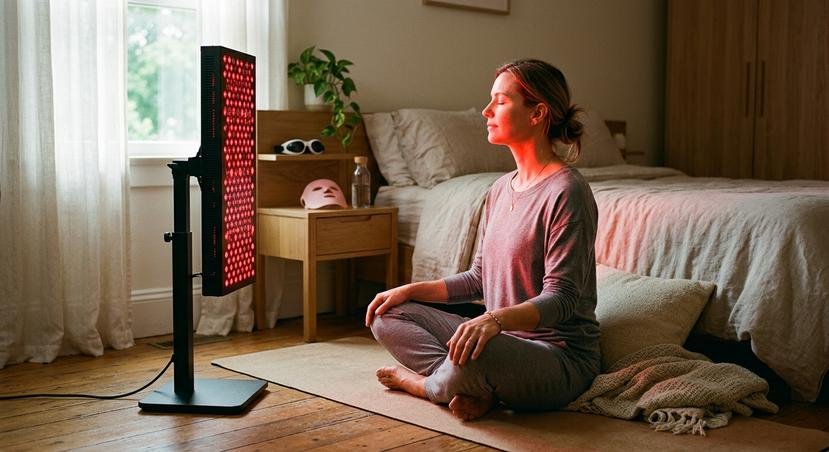
Always wear protective goggles designed specifically for red light therapy. While the light is not a laser, prolonged direct exposure to intense LED light can strain or damage your eyes over time. Most quality devices include goggles in the package.
Document your skin condition, pain levels, or specific concerns with weekly photos or journal entries. Many users begin noticing improvements in skin texture and reduced inflammation within three to four weeks of consistent use.
If a full-panel device isn’t in your budget yet, there are other phototherapy formats that can still deliver benefits. Handheld red light wands are ideal for targeted treatment of specific areas like the face, joints, or scalp. Red light therapy masks are a popular choice for facial rejuvenation and are particularly effective for treating acne and fine lines. Light therapy wraps and belts are designed for larger body areas such as the back, knees, or hips. Additionally, some infrared saunas now incorporate red light panels, combining heat therapy with photobiomodulation for a more comprehensive wellness experience. Each alternative has its own recommended usage protocol, so always refer to the manufacturer guidelines for optimal results.
Red light therapy is no longer a futuristic luxury — it’s a practical, evidence-based wellness tool that’s accessible to virtually everyone. By following the structured approach outlined in this guide, building consistency into your routine, and investing wisely in your setup, you can experience meaningful improvements in skin health, recovery, and overall wellbeing. Whether you’re just beginning to explore red light therapy at home or you’re ready to upgrade to advanced red light therapy devices for home use, the science strongly supports making this a cornerstone of your self-care strategy. Start small, stay consistent, and let the light work for you.